Map Loan Officer IDs
This feature reads the Rep IDs from the other loan program and displays them for mapping with Mortgage Quest users. If all files belong to one loan officer and you are using a single version, you dont need to map IDs.
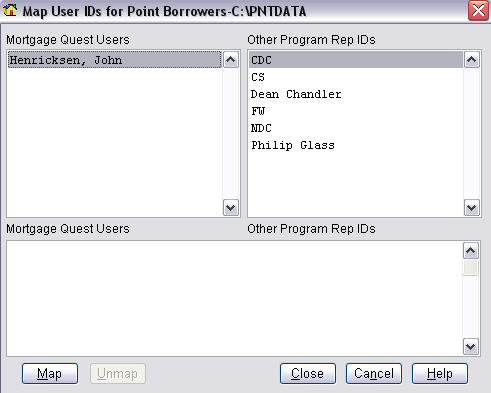
To Map Loan Officer IDs:
1. Select the Mortgage Quest user from the left list.
2. Select the Other Rep ID from the right list.
3. Click Map.
4. Continue mapping users to IDs as needed.
5. Click Close when finished to save changes.
Mapping Rep IDs in a Multi-User System
If you are using the Multi-User Enterprise system, you should map Rep IDs for all Mortgage Quest users. The following is a method for mapping and verifying Rep IDs. Loan officers that dont have mapped Rep IDs are ignored.
1. Map all Mortgage Quest users to Rep IDs. If there are Rep IDs of people no longer with the company, map them temporarily to Mortgage Quest users. After you import data for these users, map them to their actual Rep ID.
2. Select a Mortgage Quest user and click Read Borrowers to import borrowers.
3. Verify that the correct records were imported for the user. If they are incorrect, click Remove Last Import and correct the ID mapping problem.
4. Repeat steps 2 and 3 for all loan officers.
5. When all data has been imported, you can use the All Loan Officers option with confidence that the Rep IDs are correctly mapped.